Create a Data Test monitor
There are two ways to create a Data Test monitor:- Open the Monitors page, select Create new monitor, and then choose Data Test.
- Clone an existing Data Test monitor by clicking Actions and then Clone. This will pre-fill the form with the existing monitor configuration.
Set up your monitor
Select your data connection, then choose whether you’d like to use a Standard or Custom test.Standard Data Tests
Standard tests allow you to validate your data against off-the-shelf checks for non-null or unique values, numeric ranges, accepted values, referential integrity, and more. After choosing your data connection, select Standard and the specific test that you’d like to run. If you don’t see the test you’re looking for, you can always write a Custom test.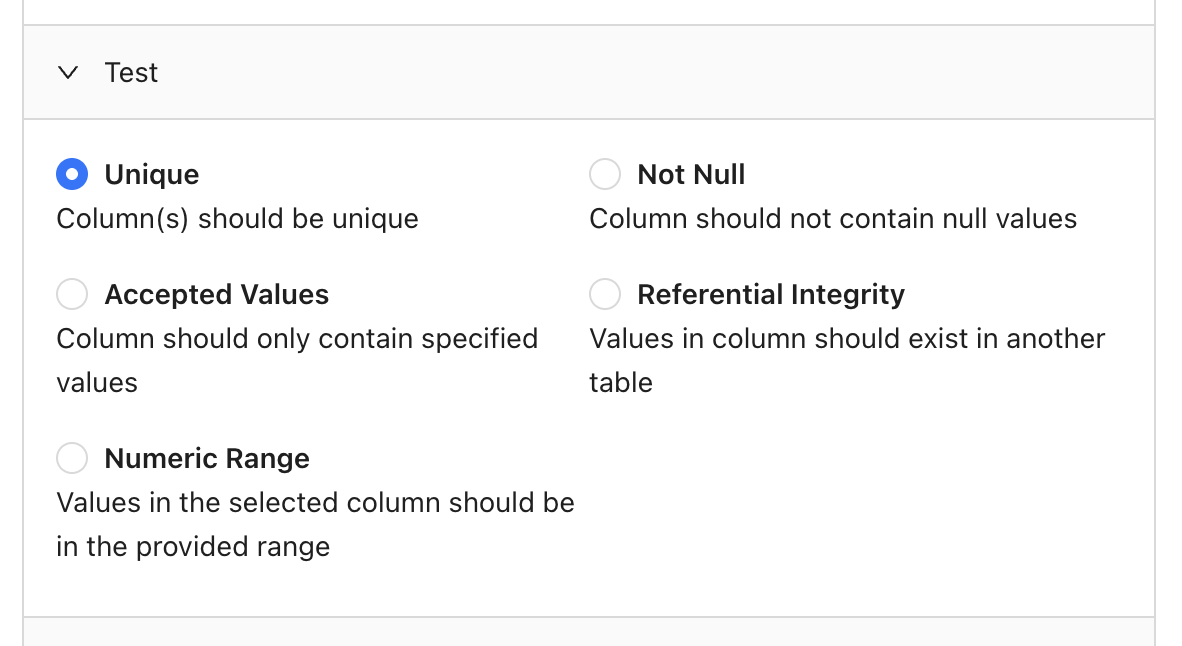
Quoting variables
Some test types (e.g. accepted values) require you to provide one or more values, which you may want to have quoted in the final SQL. The Quote flag, which is enabled by default, allows you to control this behavior. Here’s an example. Quoting enabled forEXAMPLE_VALUE (default):
EXAMPLE_VALUE:
Custom Data Tests
When you need to test something that’s not available in our Standard tests, you can write a Custom test. Select your data connection, choose Custom, then write your SQL query. Importantly, keep in mind that your query should return records that fail the test. Here are some examples to illustrate this. Custom business rule Say your company defines active users as individuals who have signed into your application at least 3 times in the past week. You could write a test that validates this logic by checking for users marked as active who haven’t reached this threshold:Add a schedule
You can choose to run your monitor daily, hourly, or even input a cron expression for more complex scheduling:
Add notifications
Receive notifications via Slack or email when at least one record fails your test: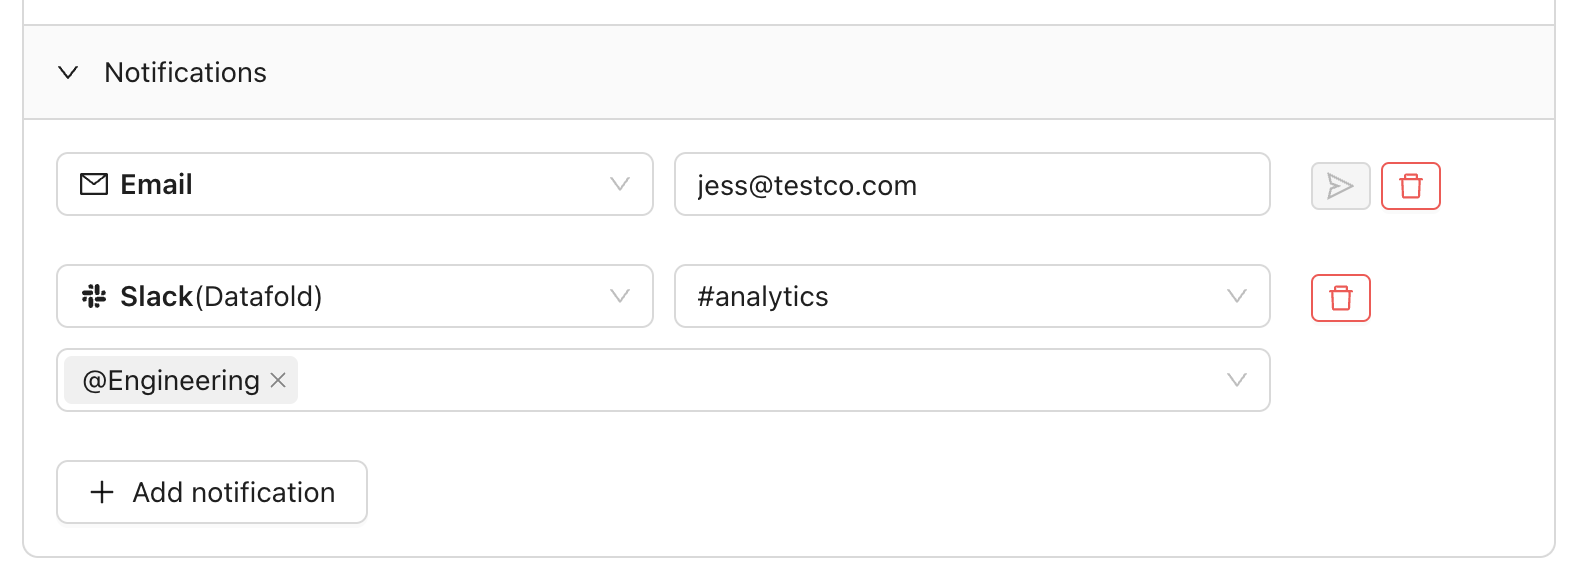
Attach CSVs to notifications
Datafold allows attaching a CSV of failed records to Slack and email notifications. This is useful if, for example, you have business users who don’t have a Datafold license but need to know about records that fail your tests. This option is configured separately per notification destination as shown here: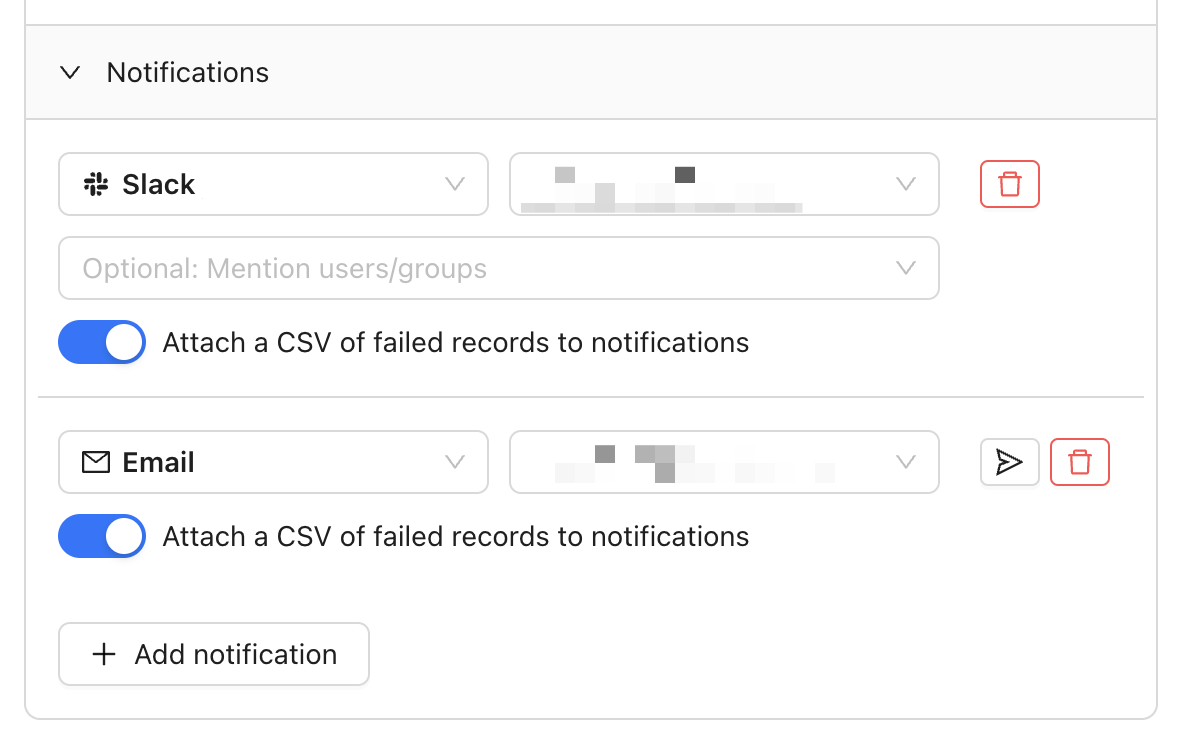
CSV attachments are limited to the lesser of 1,000 rows or 1 MB in file size.
Attaching CSVs in Slack
In order to attach CSVs to Slack notifications, you need to complete 1-2 additional steps:- If you installed the Datafold Slack app prior to October 2024, you’ll need to reinstall the app by visiting Settings > Integrations > Notifications, selecting your Slack integration, then Reinstall Slack integration.
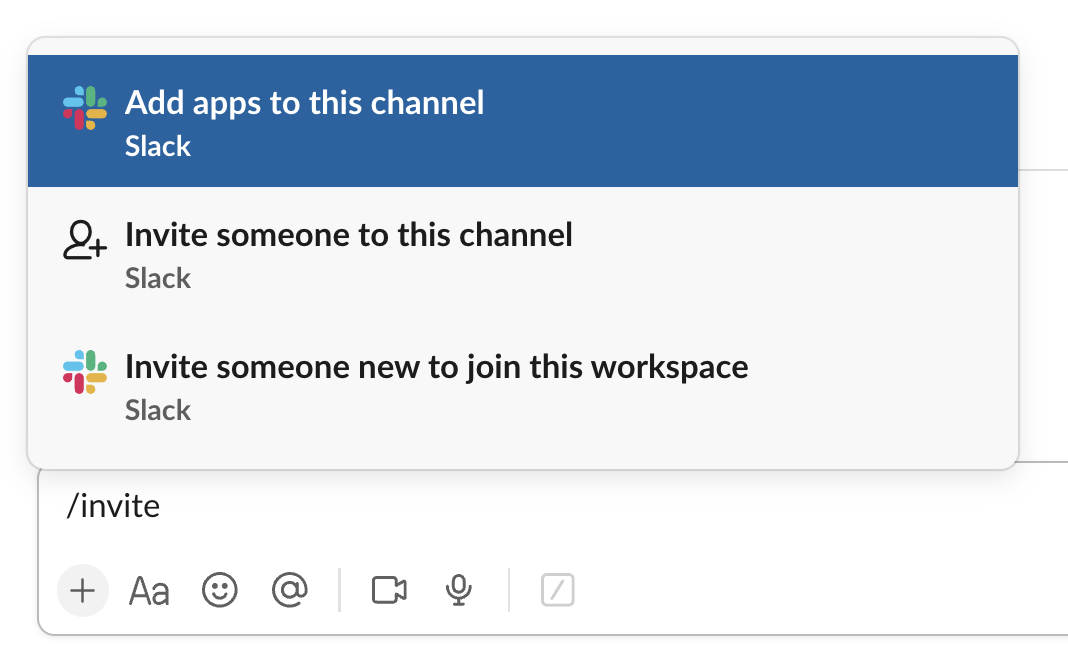
- Invite the Datafold app to the channel you wish to send notifications to using the
/invitecommand shown below:
Run Tests in CI
Standard Data Tests run on a schedule against your production data. But often it’s useful to test data before it gets to production as part of your deployment workflow. For this reason, Datafold supports running tests in CI. Data Tests in CI work very similarly to our Monitors as Code feature, in the sense that you define your tests in a version-controled YAML file. You then use the Datafold SDK to execute those tests as part of your CI workflow.Write your tests
First, create a new file (e.g.tests.yaml) in the root of your repository. Then write your tests use the same format described in our Monitors as Code docs with two exceptions:
- Add a
run_in_ciflag to each test and set it totrue(assuming you’d like to run the test) - (Optional) Add placeholders for variables that you’d like to populate dynamically when executing your tests
Execute your tests
INFOThis section describes how to get started with GitHub Actions, but the same concepts apply to other hosted version control platforms like GitLab and Bitbucket. Contact us if you need help getting started.
.github/workflows/ using the following template. Be sure to tailor it to your particular setup:
View the results
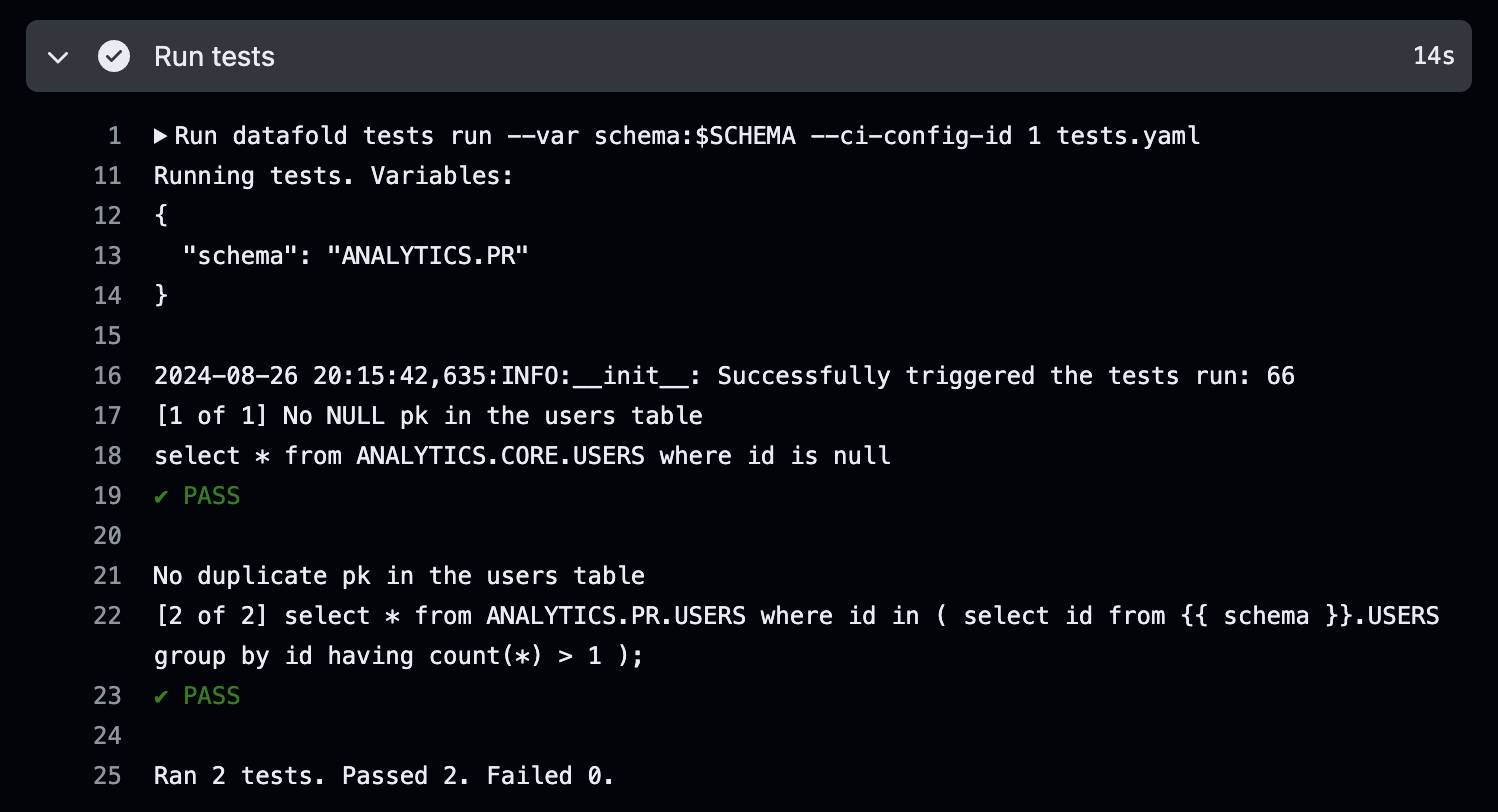
When your CI workflow is triggered (e.g. by a pull request), you can view the terminal output for your test results: