1. Issue an Access Token
Bitbucket Cloud
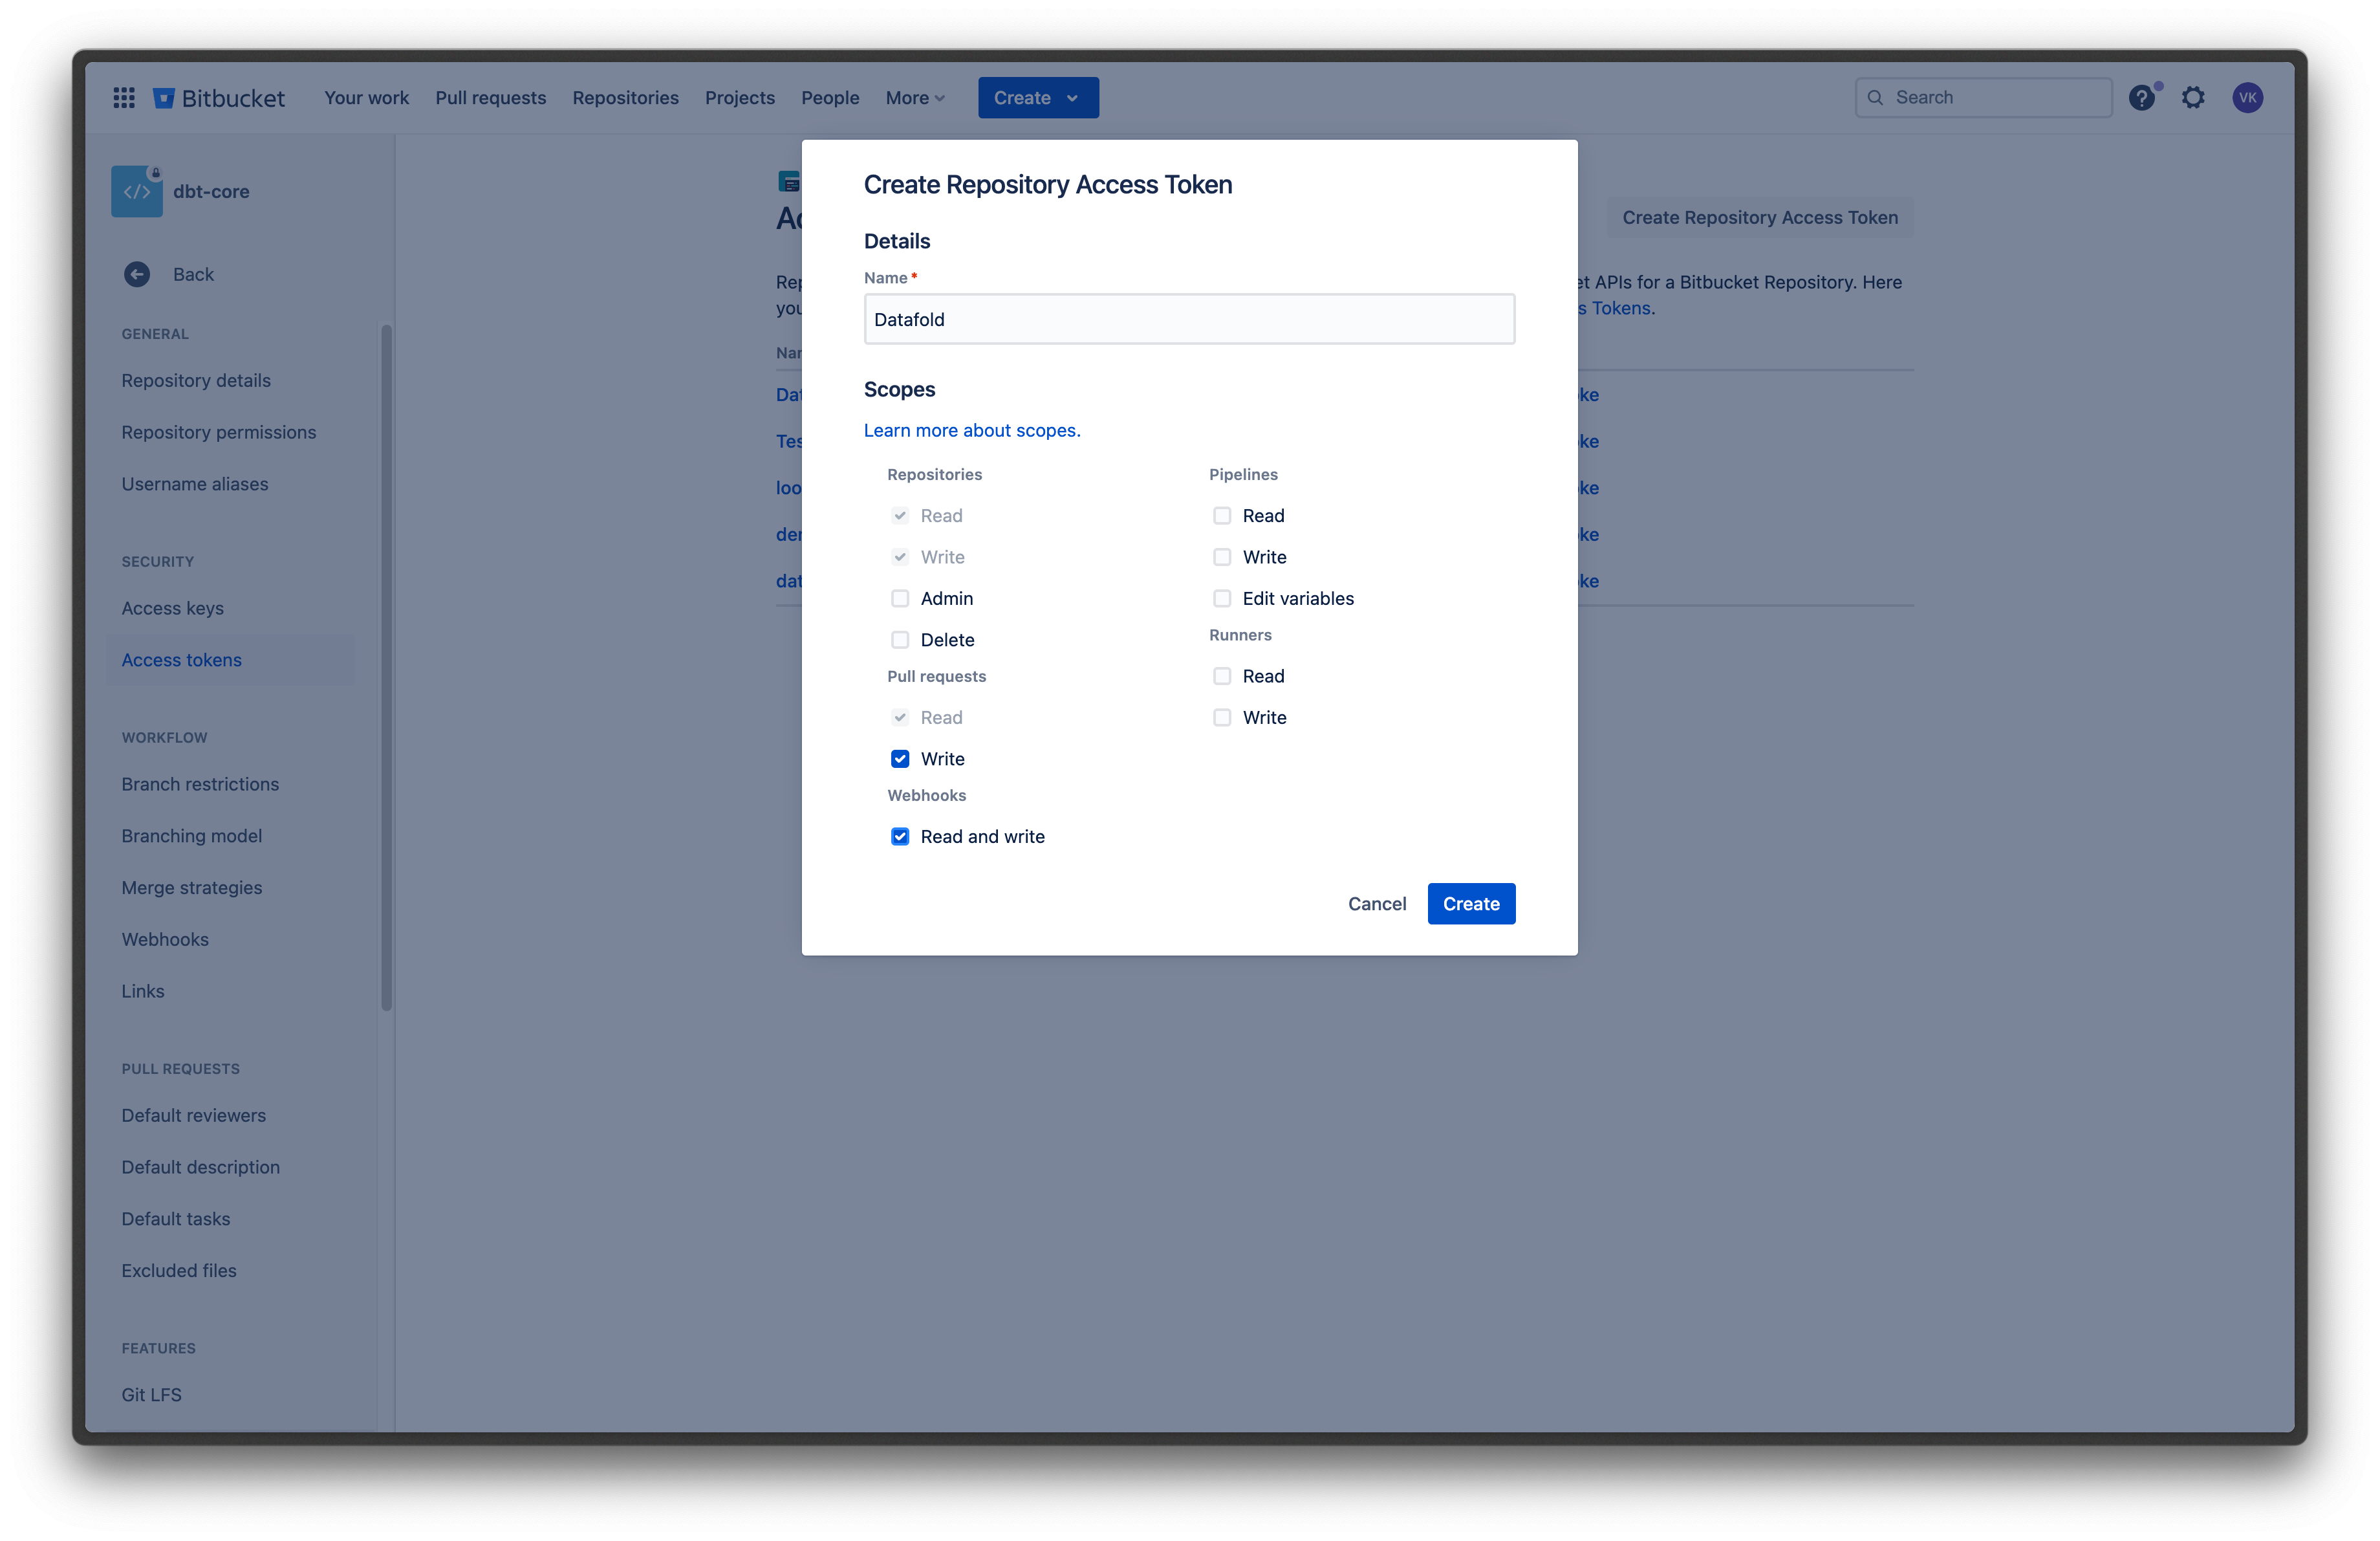
To get the repository access token, navigate to your Bitbucket repository settings and create a new token. When configuring your token, enable following permissions:- Pull requests -> Write, so that Datafold can post reports with Data Diff results to pull requests.
- Webhooks -> Read and write, so that Datafold can configure all webhooks that we need automatically.

Bitbucket Data Center / Server
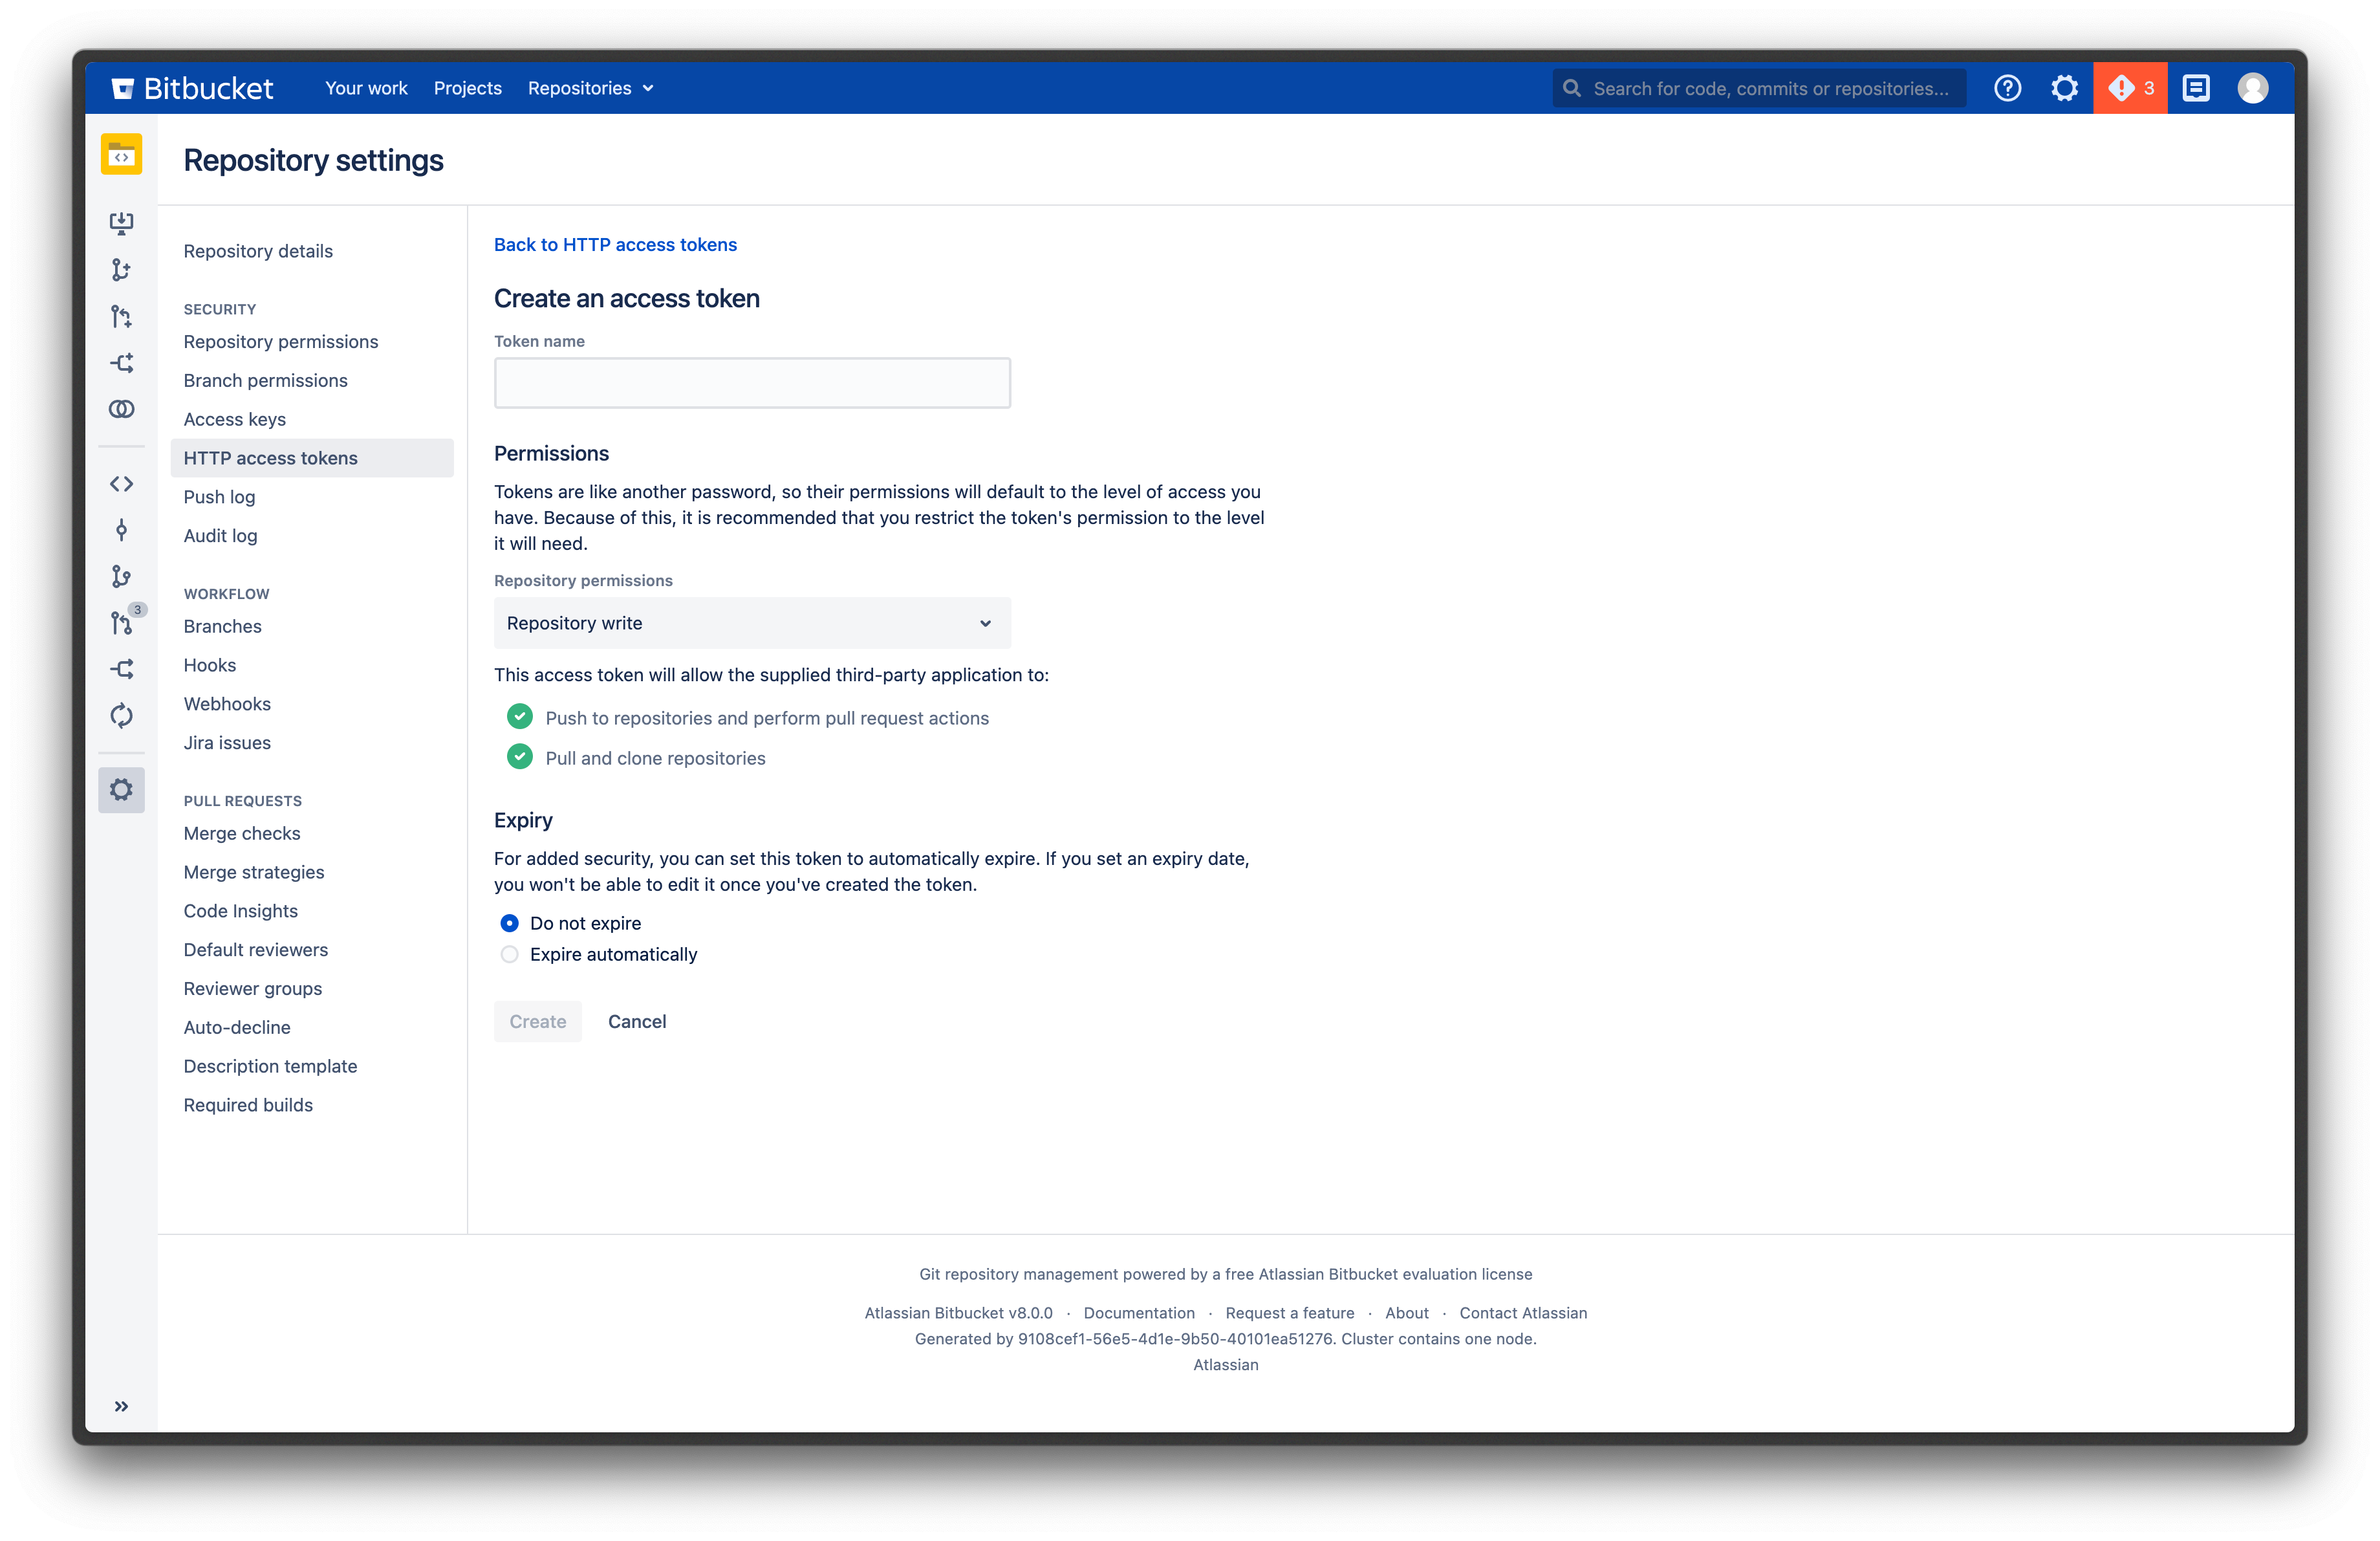
To get a repository access token, navigate to your Bitbucket repository settings and create a new token. When configuring your token, enable Repository admin permissions. We need admin access to the repository to be able to post reports with Data Diff results to pull requests, and also configure all necessary webhooks automatically.
2. Configure integration in Datafold
Navigate back to Datafold and fill in the configuration form.Bitbucket Cloud
- Personal/project Access Token: the token you created in step 1.
- Repository: your Bitbucket repository name.
For example, if your Bitbucket project URL is
https://bitbucket.org/datafold/dbt/, your Project Name isdatafold/dbt.
Bitbucket Data Center / Server
- Personal/project Access Token: the token you created in step 1.
- Repository: the full URL of your Bitbucket repository.
For example,
https://bitbucket.myorg.com/projects/datafold/repos/dbt.
