> ## Documentation Index
> Fetch the complete documentation index at: https://docs.datafold.com/llms.txt
> Use this file to discover all available pages before exploring further.
# Microsoft Entra ID
> Configure Microsoft Entra ID (Azure AD) as a SAML identity provider for Datafold SSO. Step-by-step setup and configuration guide.
## Azure AD / Entra ID as a SAML Identity Provider
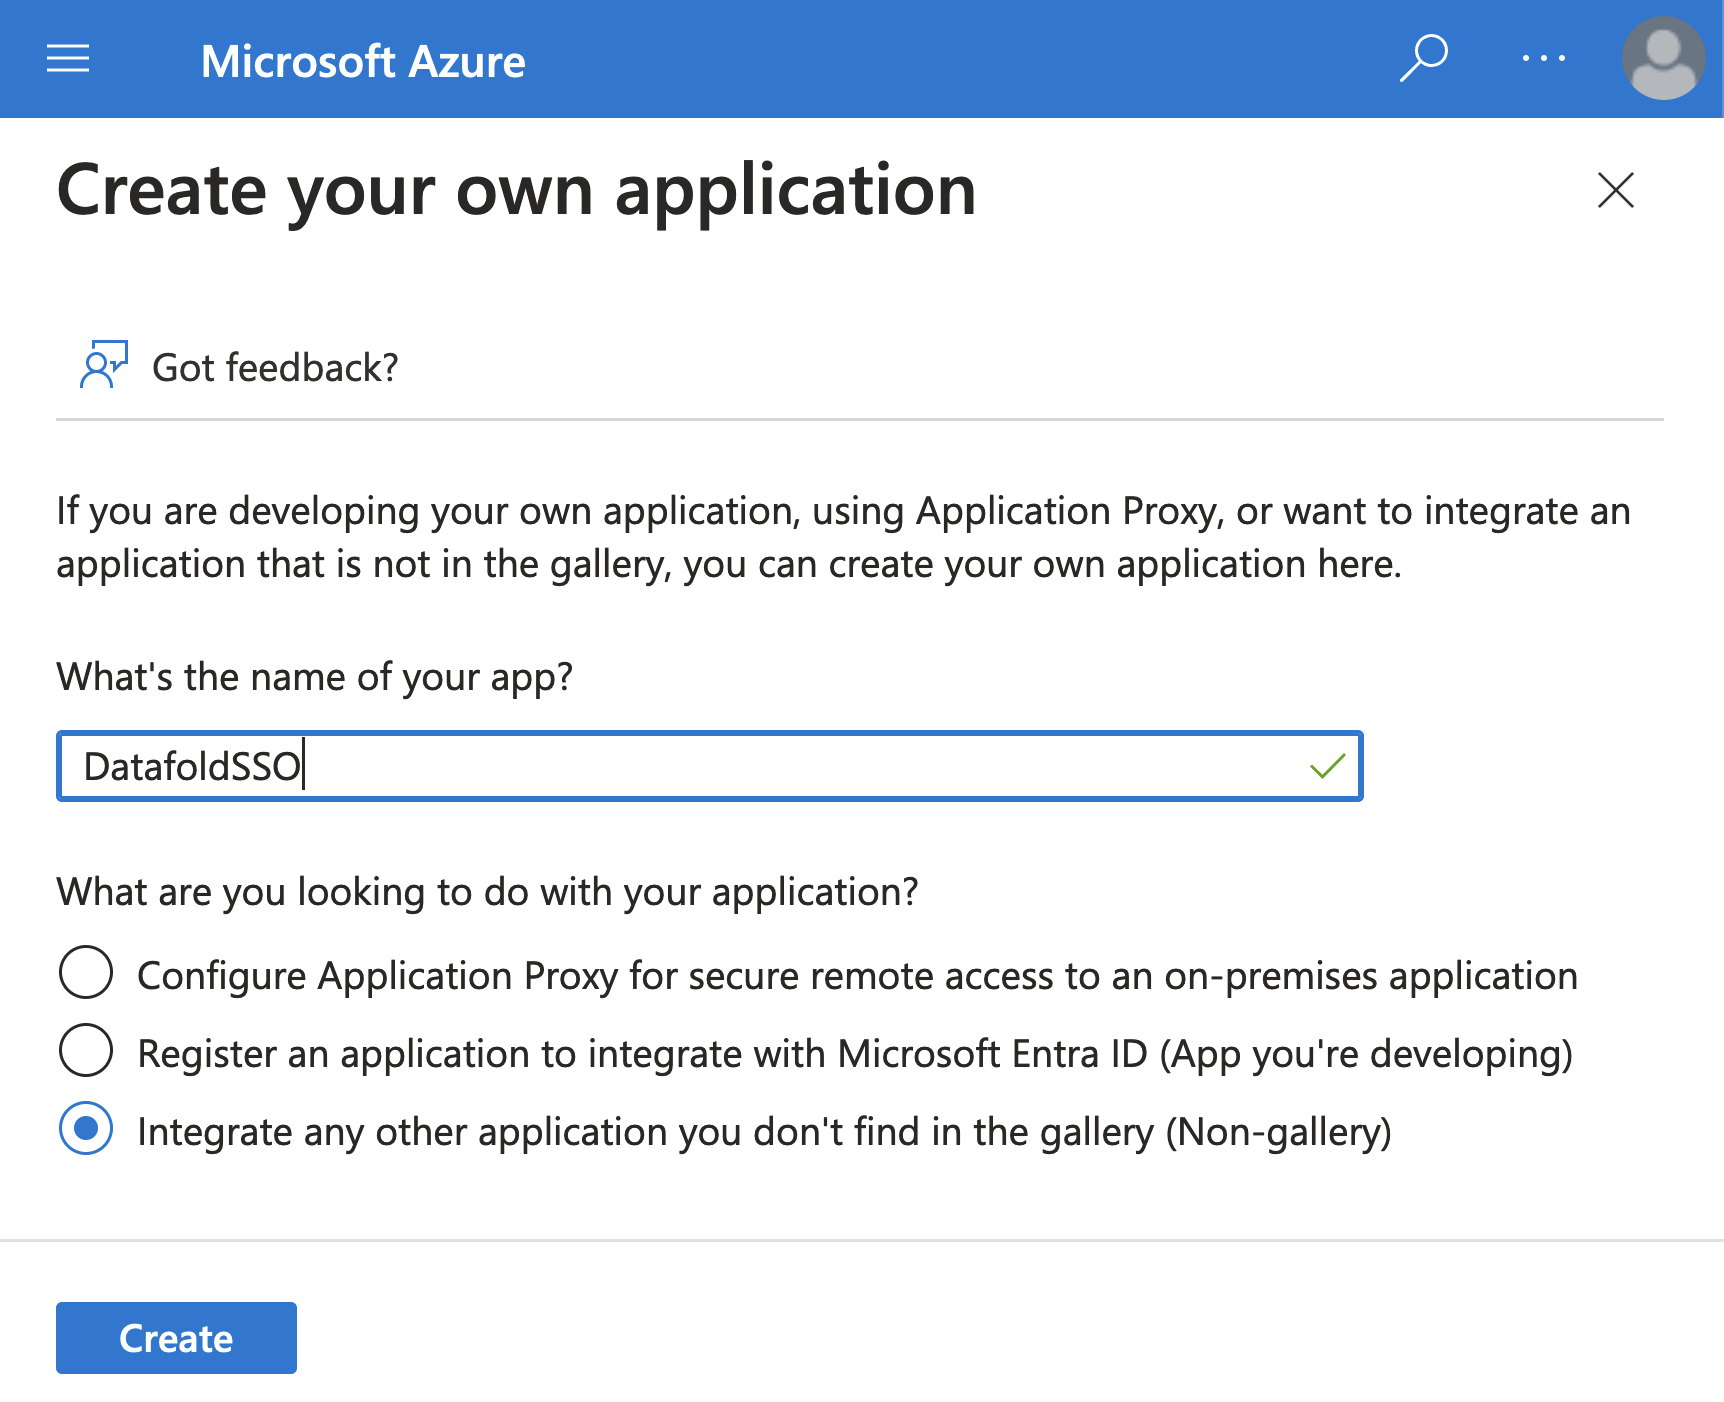
You can create an **Enterprise Application** and use that to configure access to Datafold. Click on **New application** and **Create your own application**.
 **Copy** the **App Federation Metadata Url**.
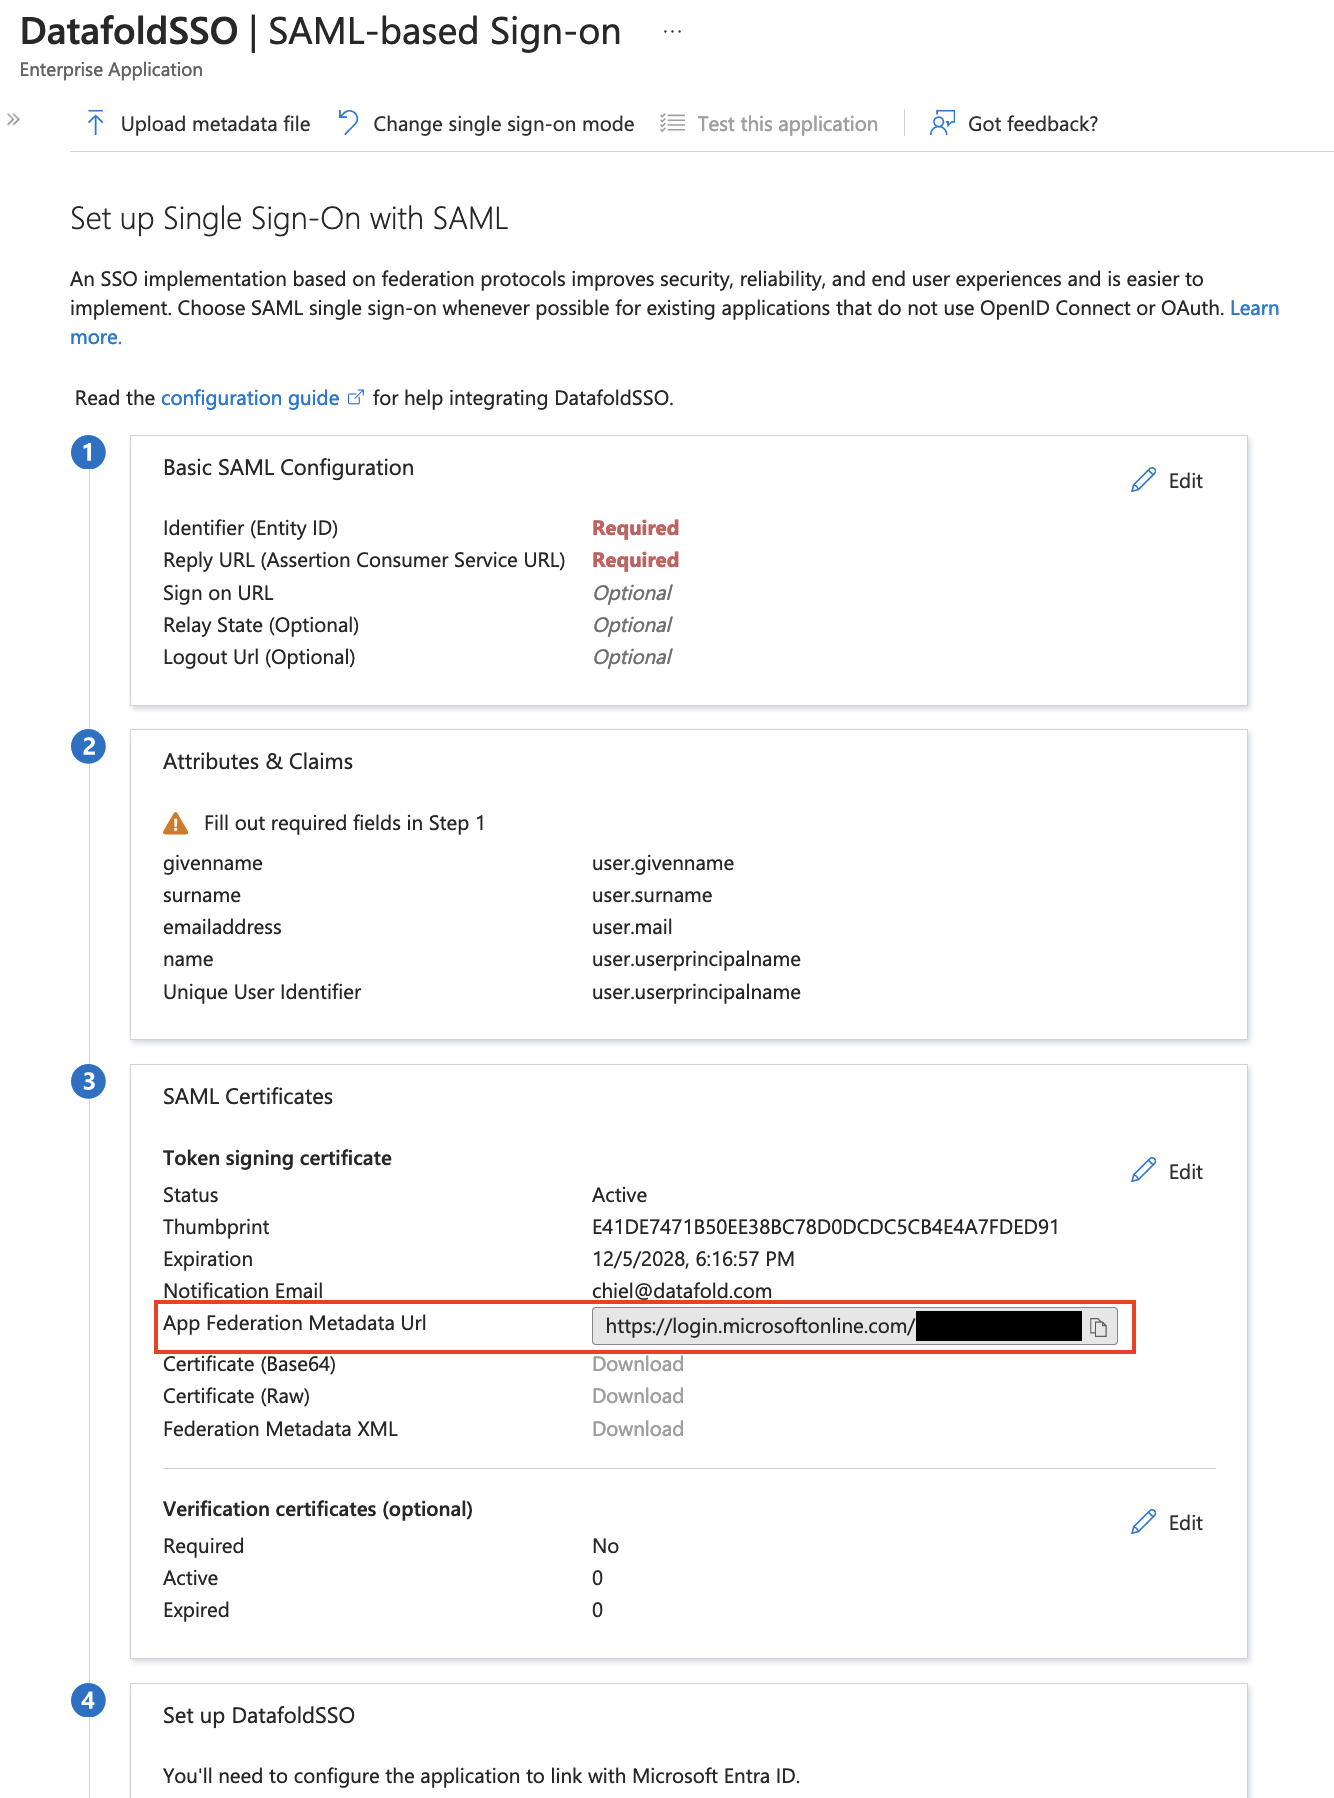 Go to `Datafold` and create a new SSO integration. Navigate to **Settings** → **Integrations** → **Add new Integration** → **SAML**.
Paste the **copied** URL into **Identity Provider Metadata URL**.
Go to `Datafold` and create a new SSO integration. Navigate to **Settings** → **Integrations** → **Add new Integration** → **SAML**.
Paste the **copied** URL into **Identity Provider Metadata URL**.
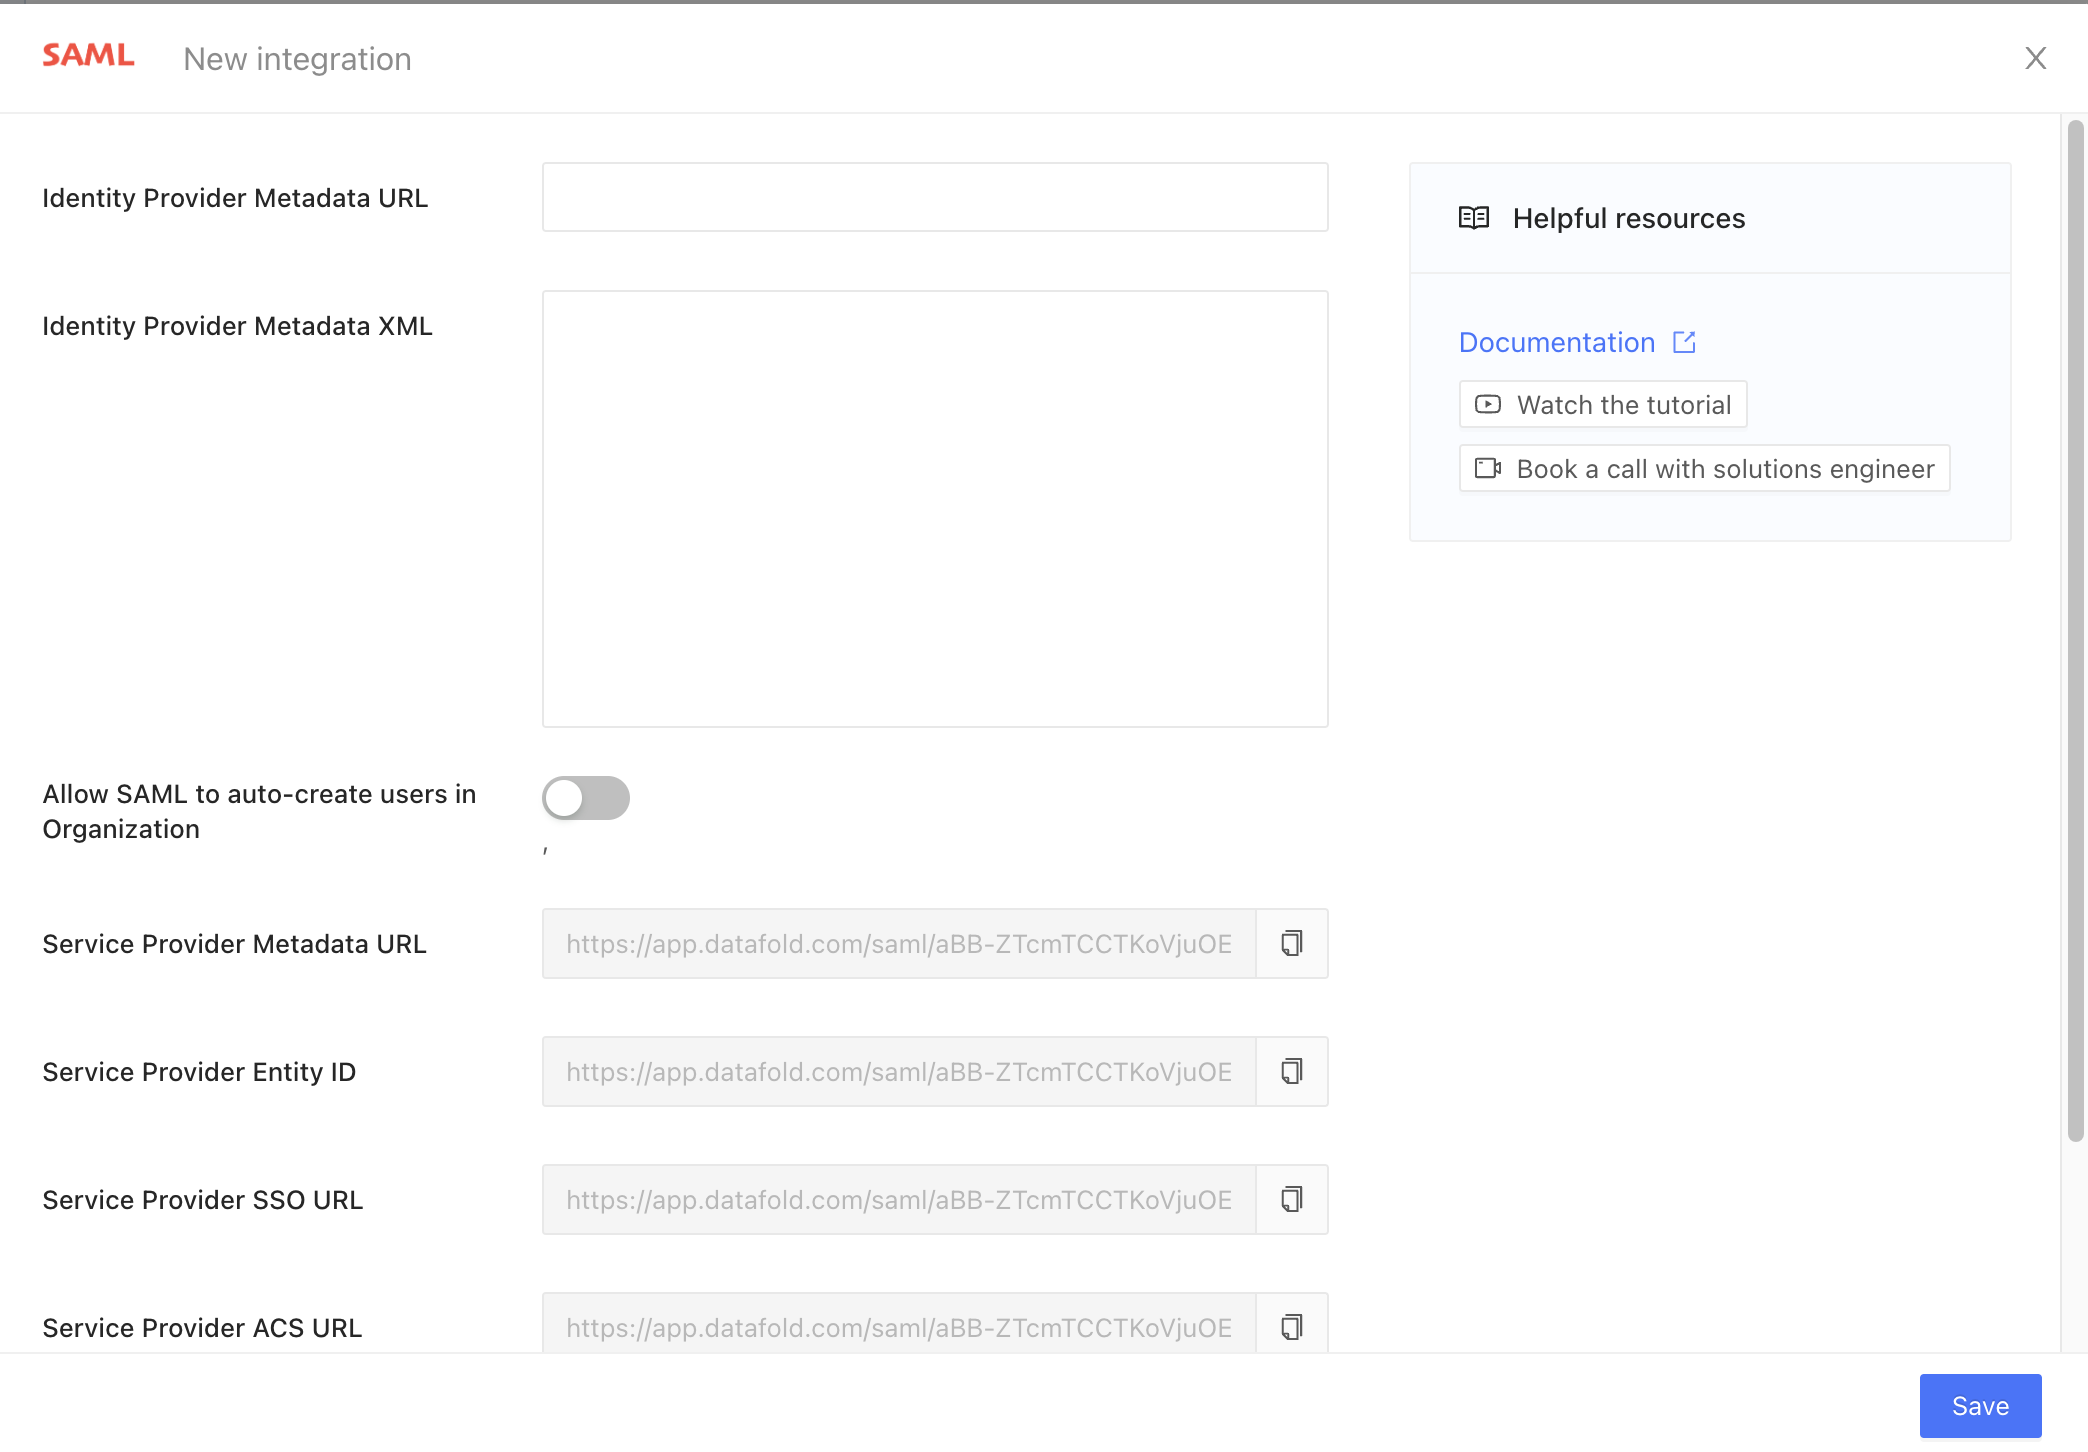 Go to `Azure` and edit the **Basic SAML Configuration** in your Enterprise App.
Copy from Datafold the read-only field **Service Provider ACS URL** and paste it into **Reply URL**.
Copy from Datafold the read-only field **Service Provider Entity ID** and paste it into **Identifier**.
Go to `Azure` and edit the **Basic SAML Configuration** in your Enterprise App.
Copy from Datafold the read-only field **Service Provider ACS URL** and paste it into **Reply URL**.
Copy from Datafold the read-only field **Service Provider Entity ID** and paste it into **Identifier**.
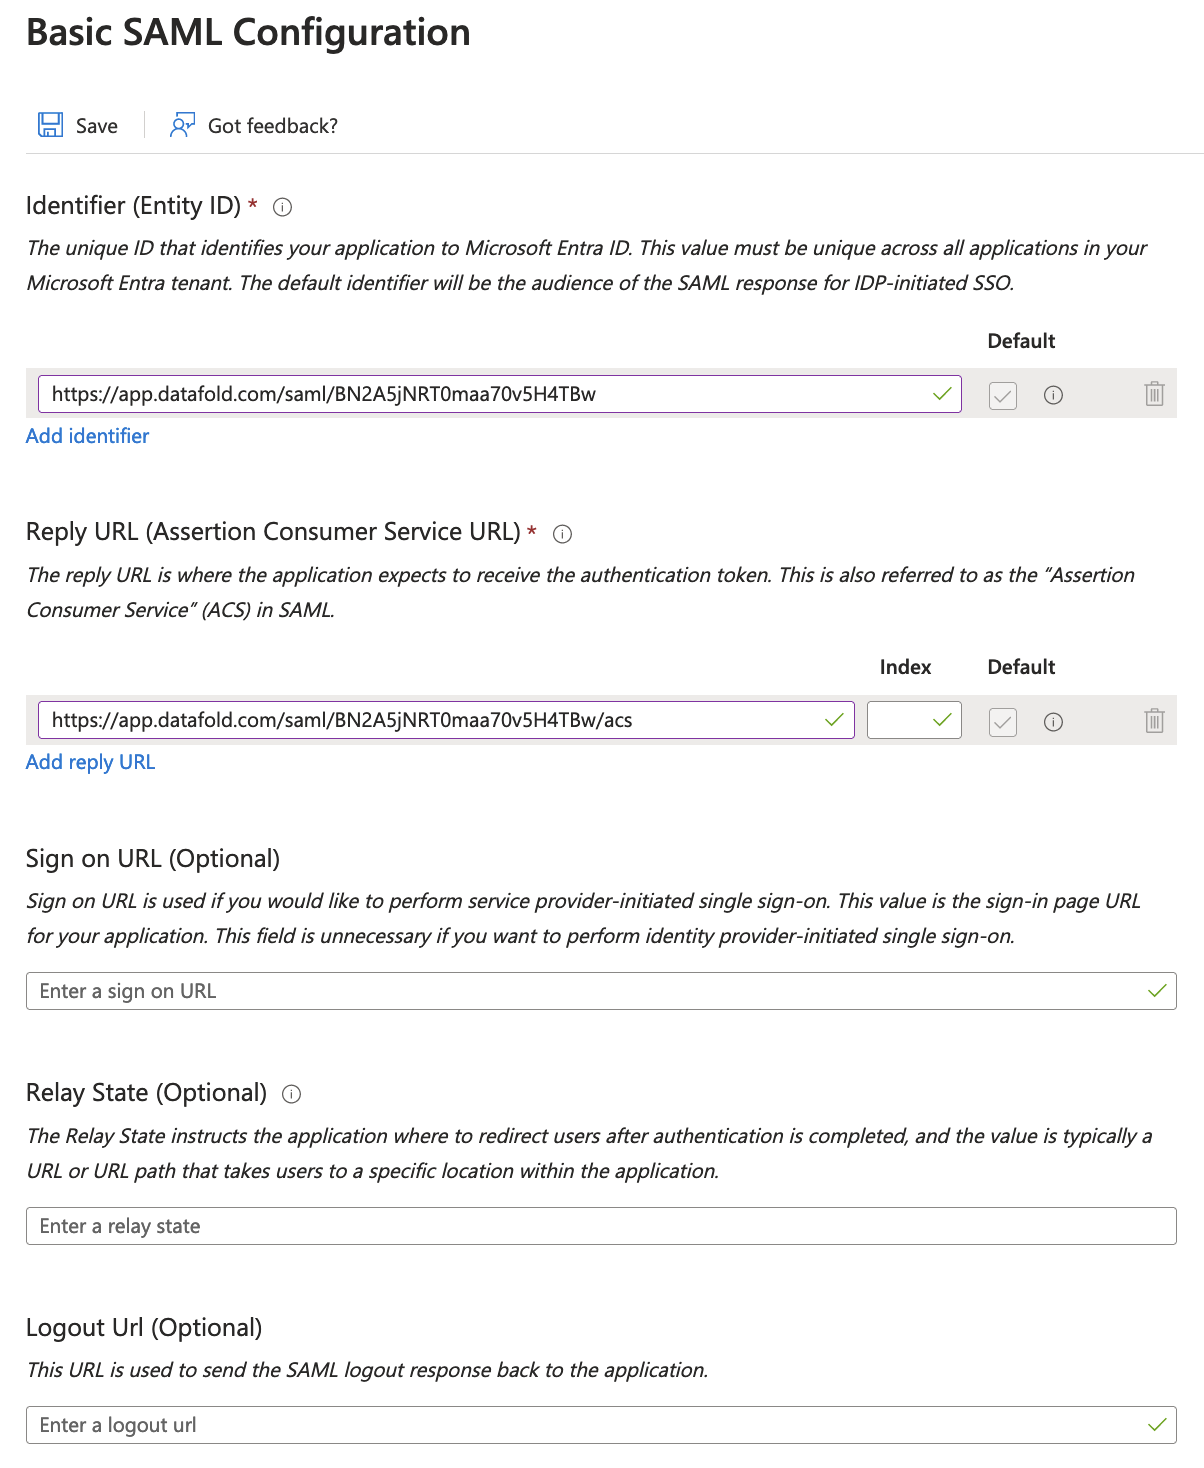 Go to `Datafold` and click **Save** to create the SAML integration.
Next, edit the **Attributes & Claims**. By default, the **Unique User Identifier** is already correctly set to `user.userprincipalname`. If you have multiple domains (i.e., `@datafold.com` and `@datafoldonmicrosoft.com`), please make sure this maps correctly to the email addresses of the users in Datafold.
(Optional step) Add two attributes: `first_name` and `last_name`.
Go to `Datafold` and click **Save** to create the SAML integration.
Next, edit the **Attributes & Claims**. By default, the **Unique User Identifier** is already correctly set to `user.userprincipalname`. If you have multiple domains (i.e., `@datafold.com` and `@datafoldonmicrosoft.com`), please make sure this maps correctly to the email addresses of the users in Datafold.
(Optional step) Add two attributes: `first_name` and `last_name`.
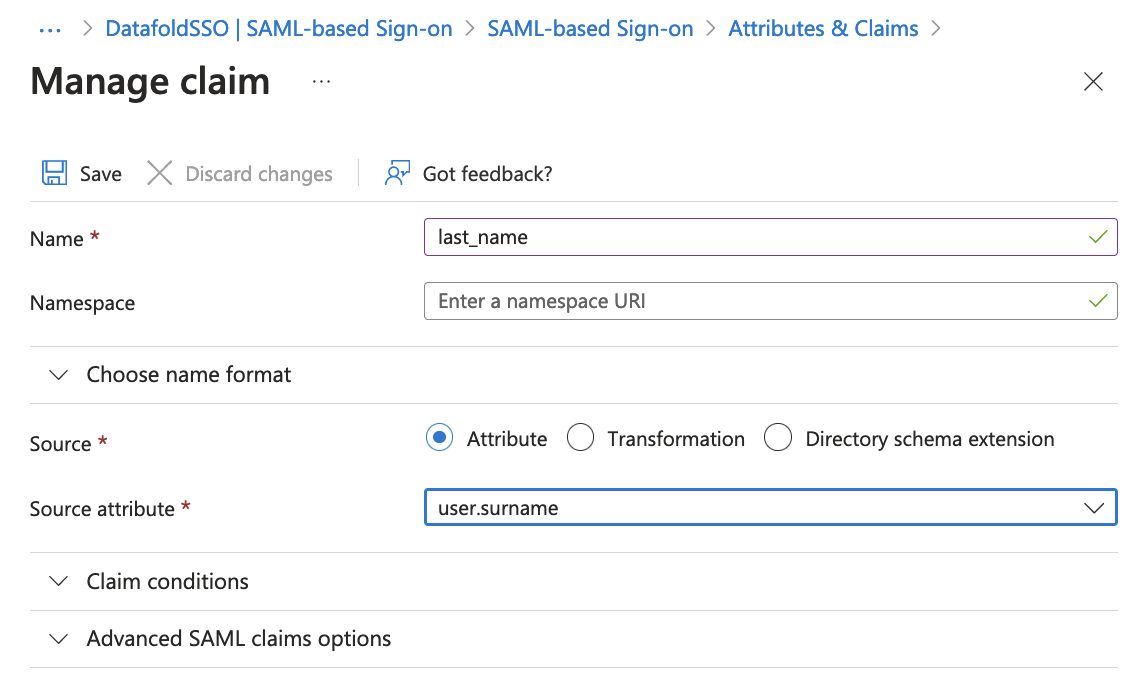 Finally, edit the **SAML Certificates**. Set the signing option to **Sign SAML response and assertion**.
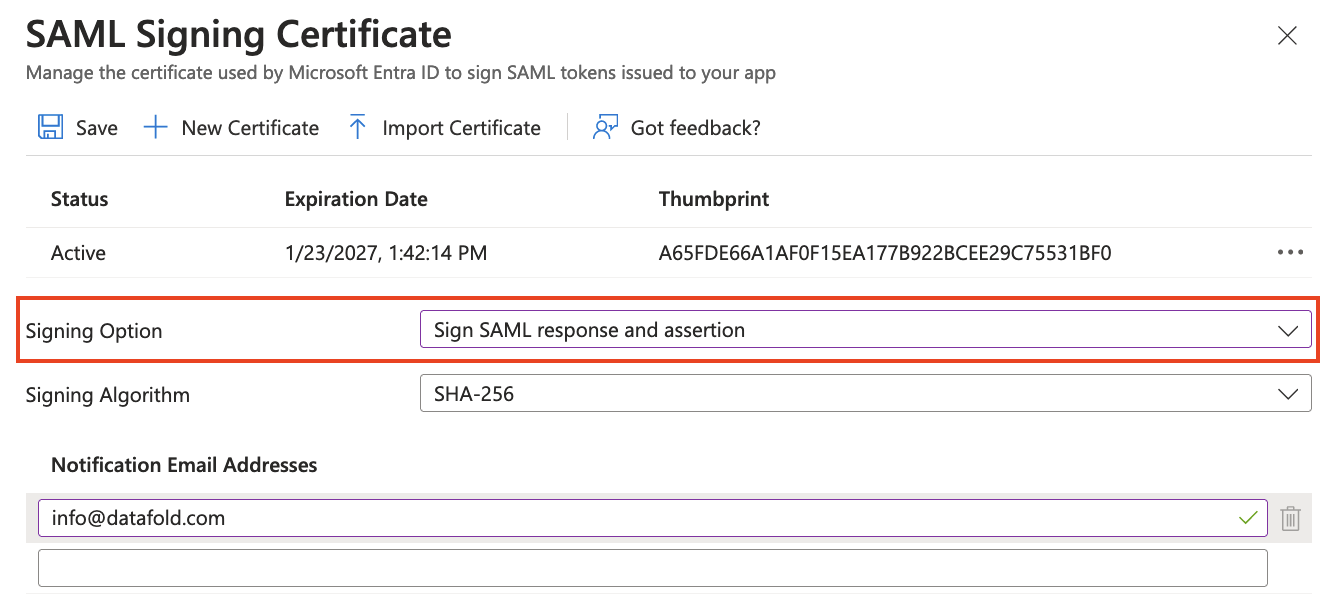 After you made sure you are added as a user to the Enterprise Application, log out from Datafold. Click on **Test** under **Test single sign-on with DatafoldSSO**.
## Synchronize user with Datafold \[Optional]
This step is essential if you want to ensure that users from your organization are disabled if they are no longer assigned to the configured Microsoft Entra App.
1. Navigate to App registrations → API permissions.
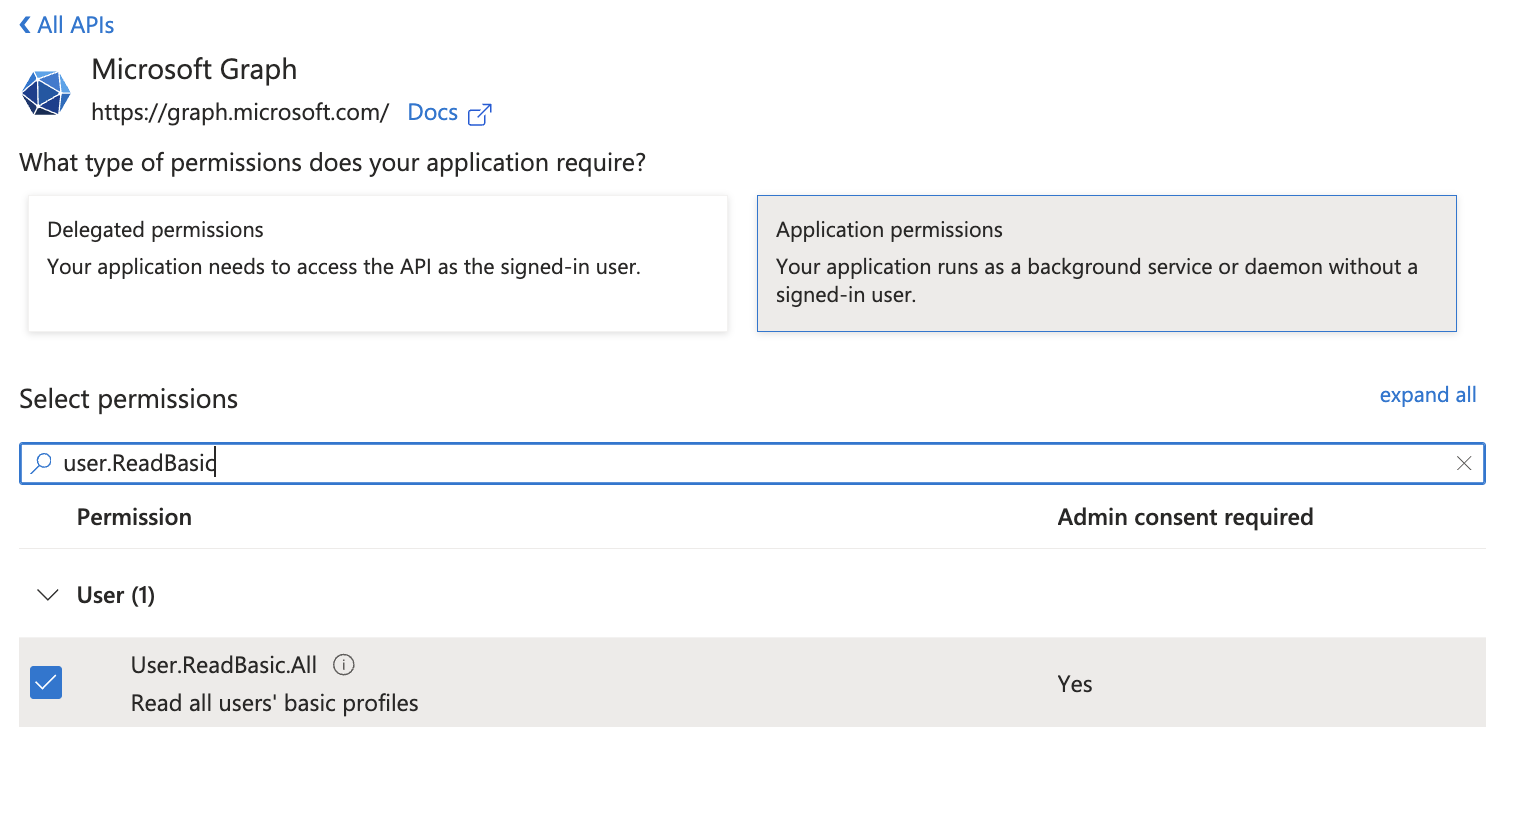
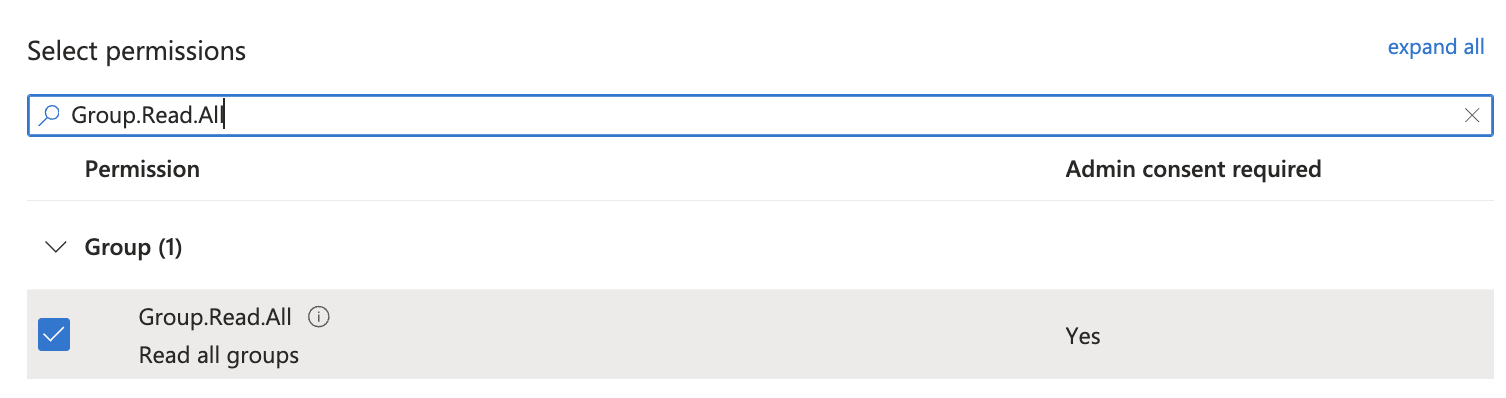
2. Add the following permissions: `Group.Read.All` and `User.ReadBasic.All`.
2.1 Click `Add a permission`.
2.2 Select Microsoft Graph.
After you made sure you are added as a user to the Enterprise Application, log out from Datafold. Click on **Test** under **Test single sign-on with DatafoldSSO**.
## Synchronize user with Datafold \[Optional]
This step is essential if you want to ensure that users from your organization are disabled if they are no longer assigned to the configured Microsoft Entra App.
1. Navigate to App registrations → API permissions.
2. Add the following permissions: `Group.Read.All` and `User.ReadBasic.All`.
2.1 Click `Add a permission`.
2.2 Select Microsoft Graph.
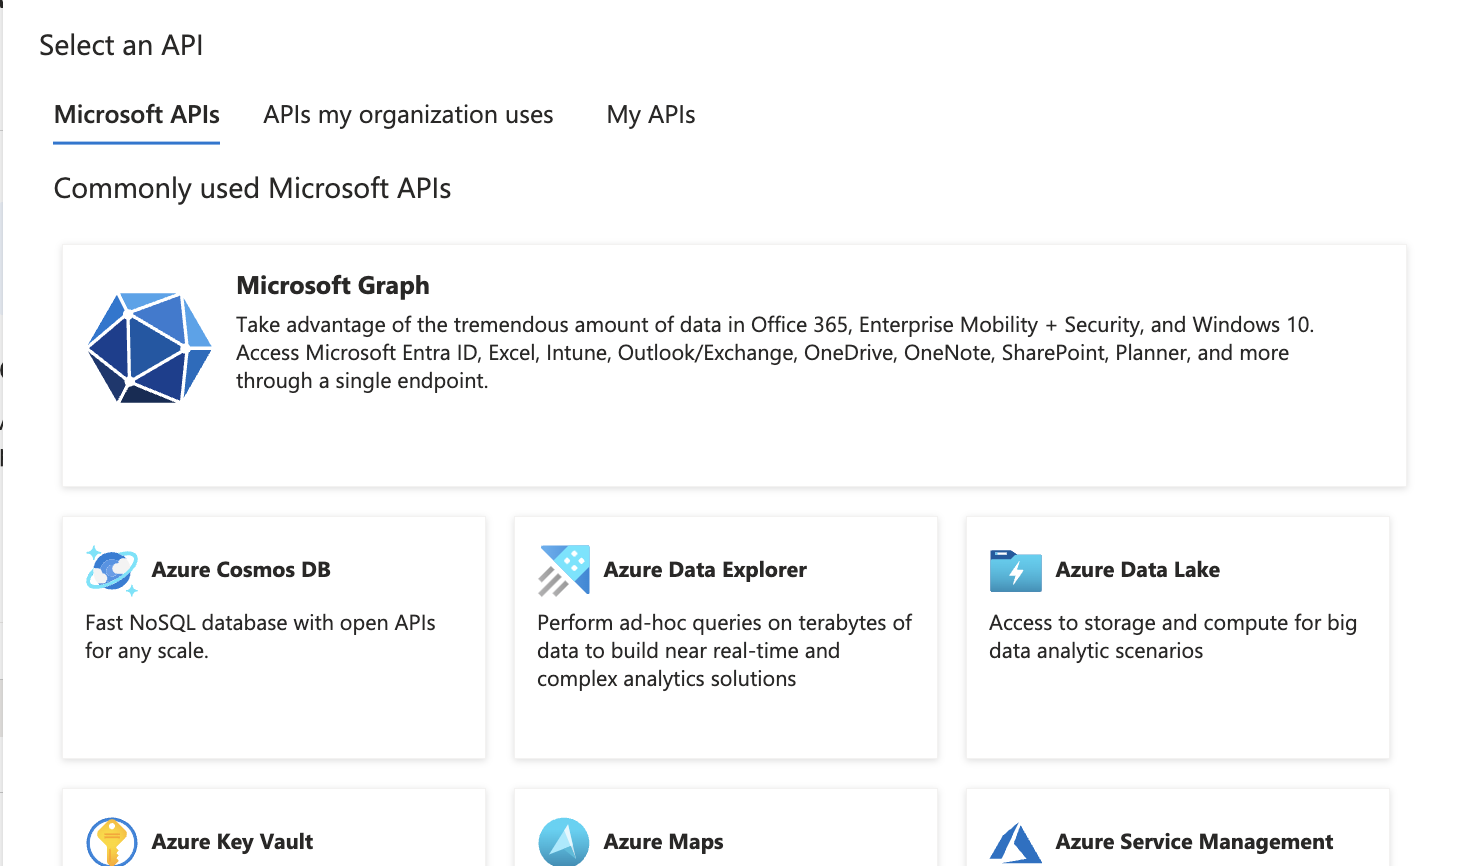 2.3 Select application permissions and add the required permissions.
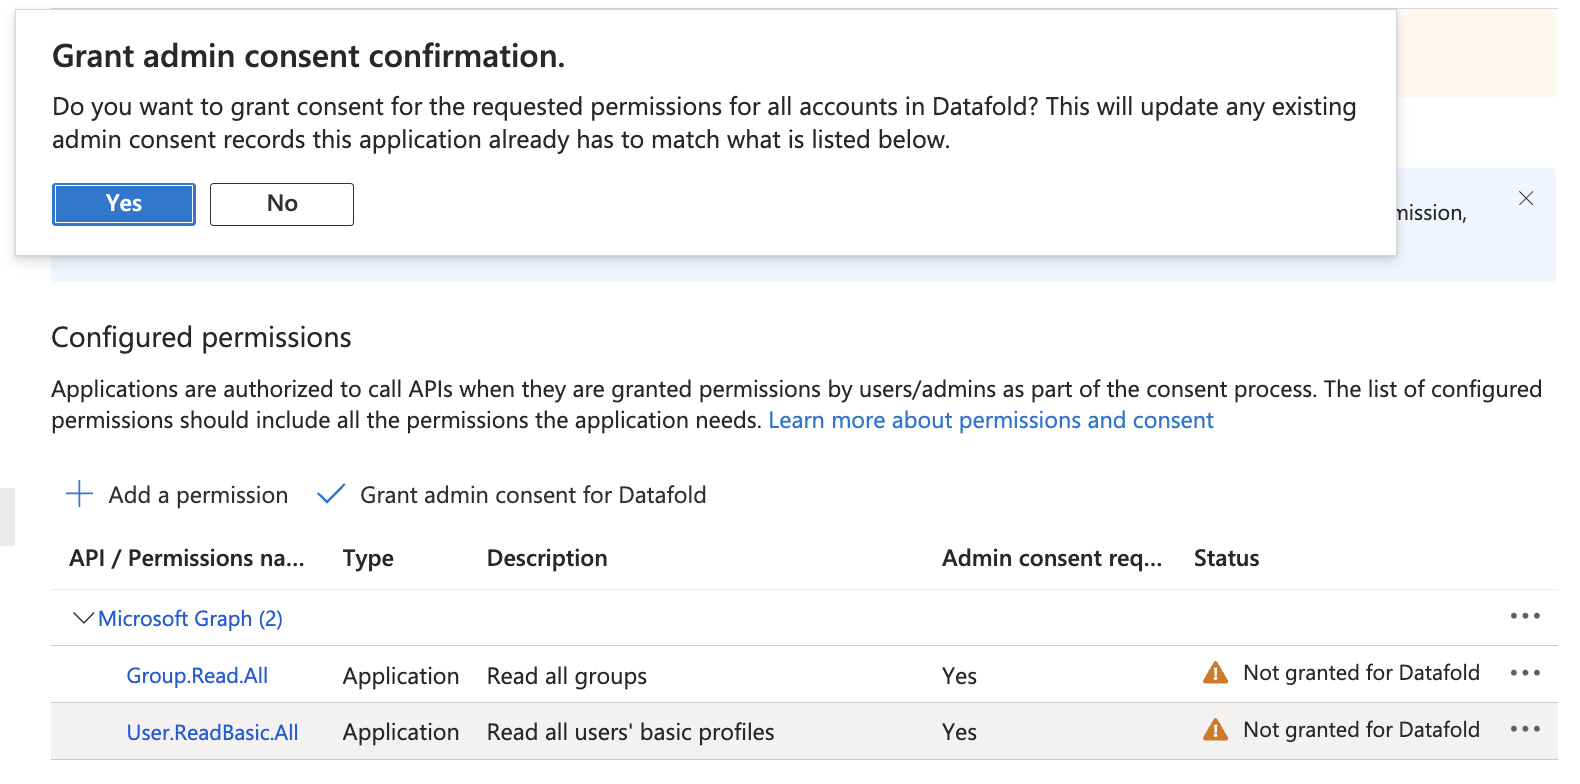
 3. Grant admin consent.
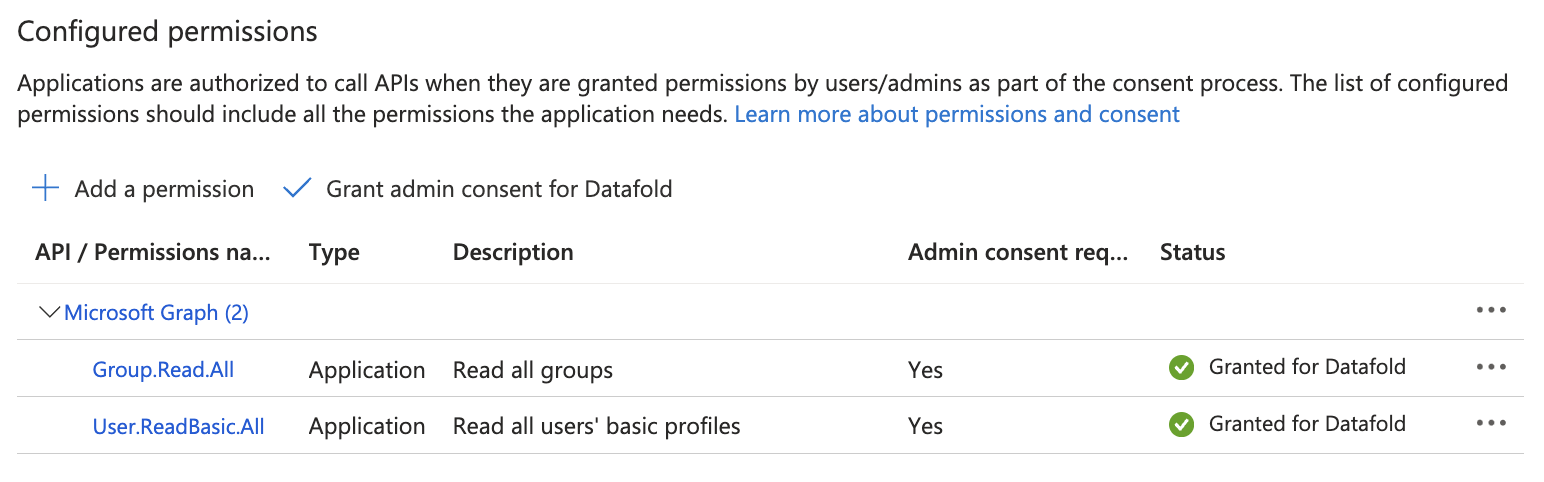
 4. You should now see a next to the permissions.
 5. Generate a secret so that Datafold can interact with the API.
5.1 Click `Certificates & secrets`.
5. Generate a secret so that Datafold can interact with the API.
5.1 Click `Certificates & secrets`.
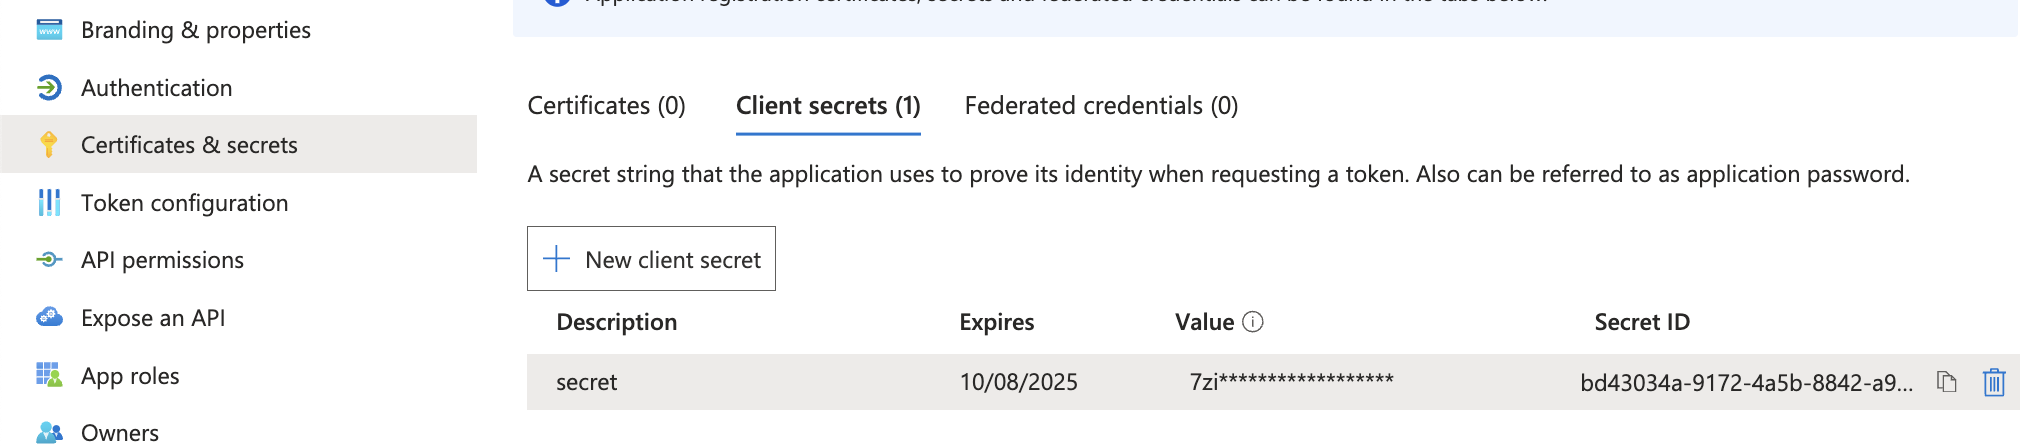 5.2 Click `New client secret`.
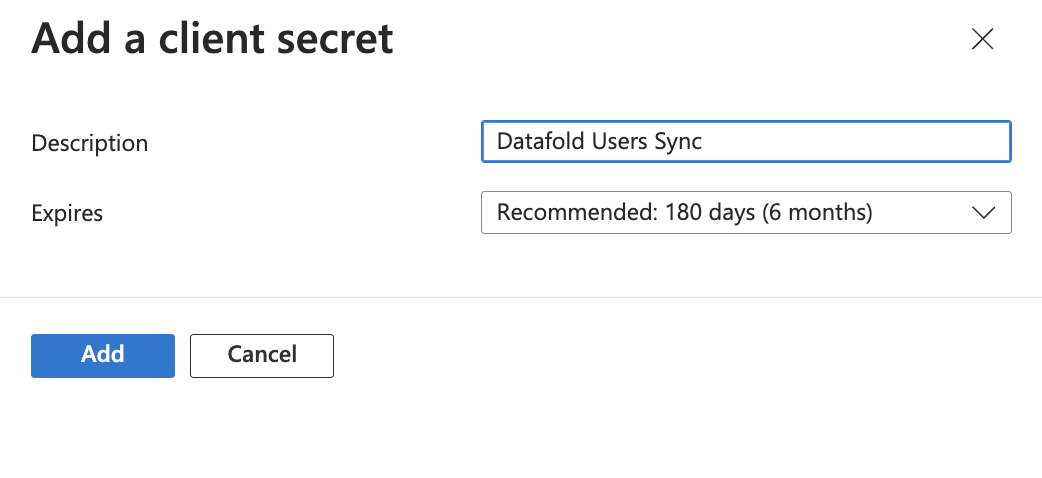
5.3 Type in a description and click `Add`.
5.2 Click `New client secret`.
5.3 Type in a description and click `Add`.
 6. Go to `Datafold` and navigate to **Settings** → **Integrations** → **SSO** → **Add new Integration** and select the Microsoft Entra ID Logo.
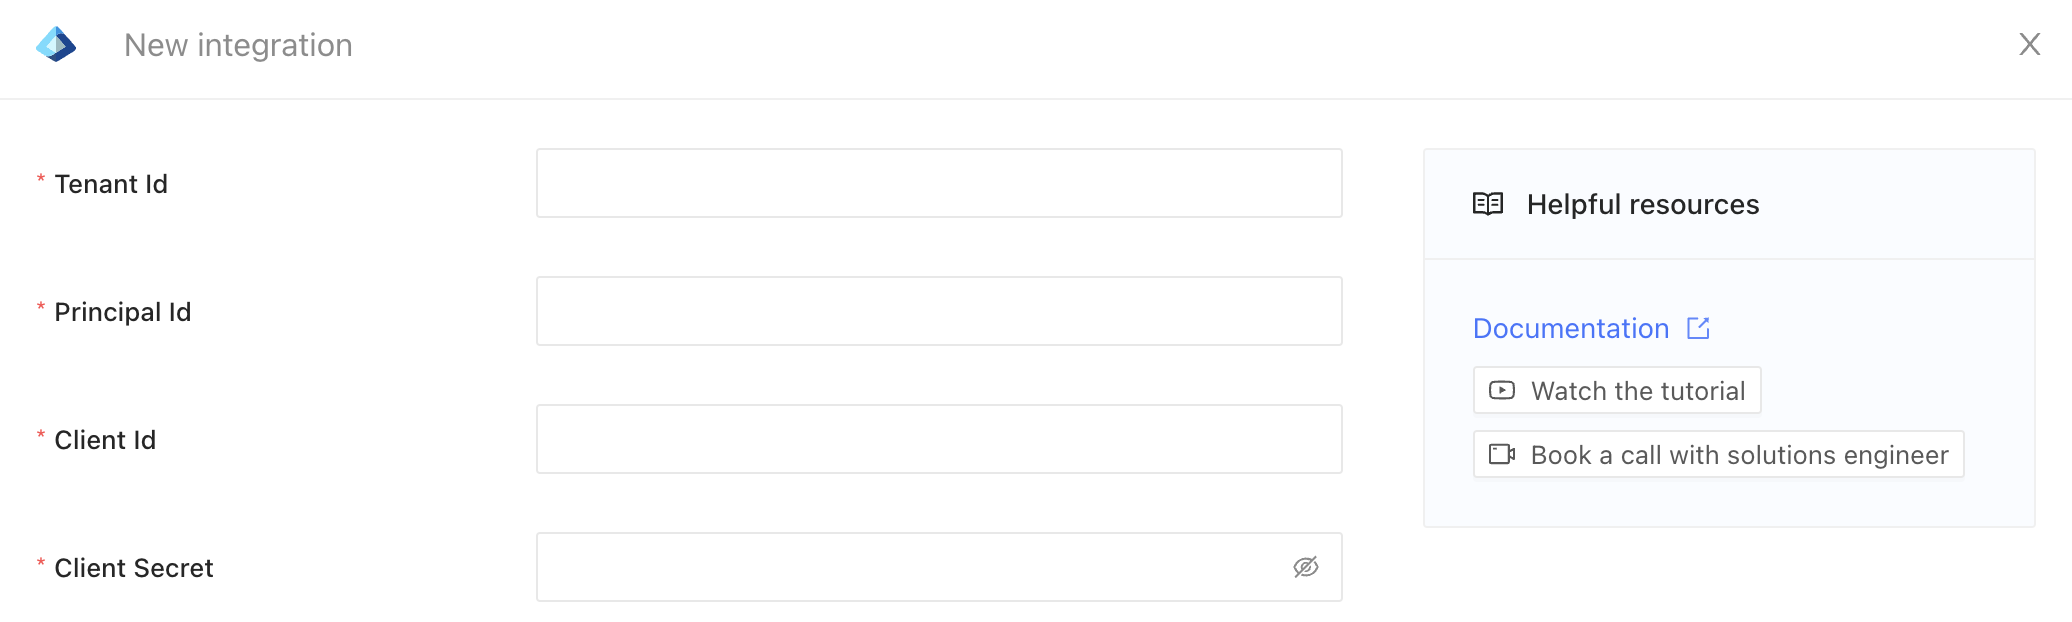 7. Paste in the four required fields:
7.1 Tenant ID - [you can find this in the overview page](https://learn.microsoft.com/en-us/entra/fundamentals/how-to-find-tenant)
7.2 Navigate to the application overview
7.3 Copy Application ID and paste it into Client Id
7.4 Copy the secret we created in the previous steps and paste it into Client Secret
7.5 Navigate to the enterprise application and copy Object ID and paste it into Principal Id.
7.6 Click **Save** to create the integration.
If the update is successful, it means that the integration is valid. Users that do not have access to the configured application will be disabled and logged out in at most one hour.